Tuesday, January 26, 2010

Waiting to turn 15

My beautiful sister is anxiously waiting to turn 15. But before becoming a woman, I wanted to capture her girlish innocence so that my family always has a picture to back at. They grow so fast. Tear.

Nena's Freshman Pic

Nena's Freshman Pic 2

Sunday, January 17, 2010

The BBA Challenge: Anadama Bread

After several months of following the Bread Baker's Apprentice Challenge that I first discovered on the Pinch My Salt blog, I have finally decided to bake along. This challenge is one that is taking place across many kitchens around the world with one goal in mind: to attempt every singe recipe in Peter Reinhart's The Bread Baker's Apprentice: Mastering the Art of Extraordinary Bread.

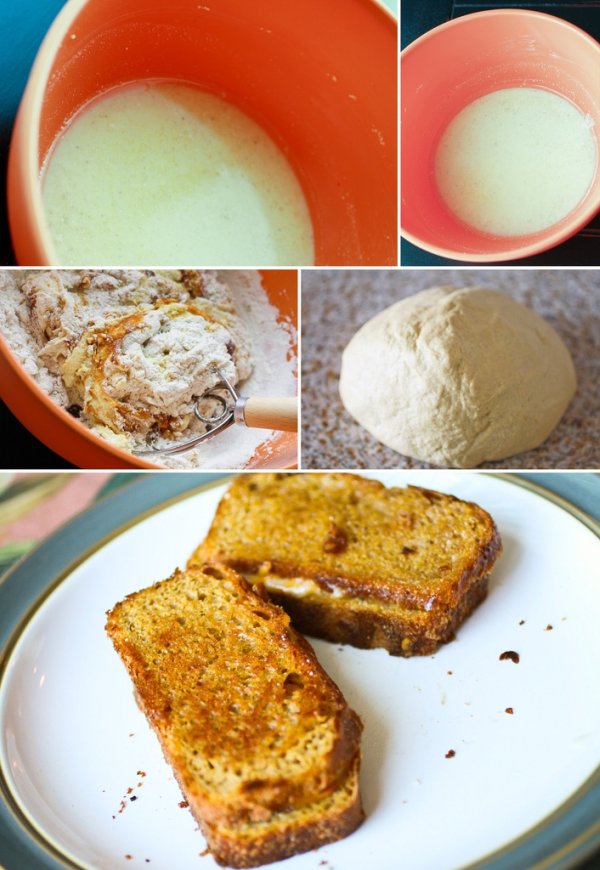
So here was my attempt at the first bread. This is Anadama Bread, which uses a corn meal soaker, or put simply: corn meal soaked in water. I left mine soaking overnight. The next day I mixed the soaker with part of the flour, yeast, and water then let it sit for 1 hour to ferment. Then I mixed in all the remaining ingredients: molasses, flour, salt, and butter. I mixed the dough using a Danish Dough Whisk - Large I ordered through Amazon.com. Then I kneaded the dough by hand using the method from this video. The dough should pass the "window pane test", but I always have a hard time accomplishing this. Most times I just give up and bake it anyway, but I think I got it somewhat right for this bread. Lastly, I let the dough rise until doubled in an oiled bowl for 90 minutes and then proofed it for 60 minutes in a bread pan. Unfortunately, after I removed the plastic wrap from pan, the dough deflated. I'll have to be more careful for the next time. Although the loaves turned out miniature after baking them, they were still very tasty and made great grilled cheese sandwhiches!

Anadama Bread

Source: For exact ingredients and measurements, see The Bread Baker's Apprentice: Mastering the Art of Extraordinary Bread.

Wednesday, January 13, 2010

1st Winter Basket

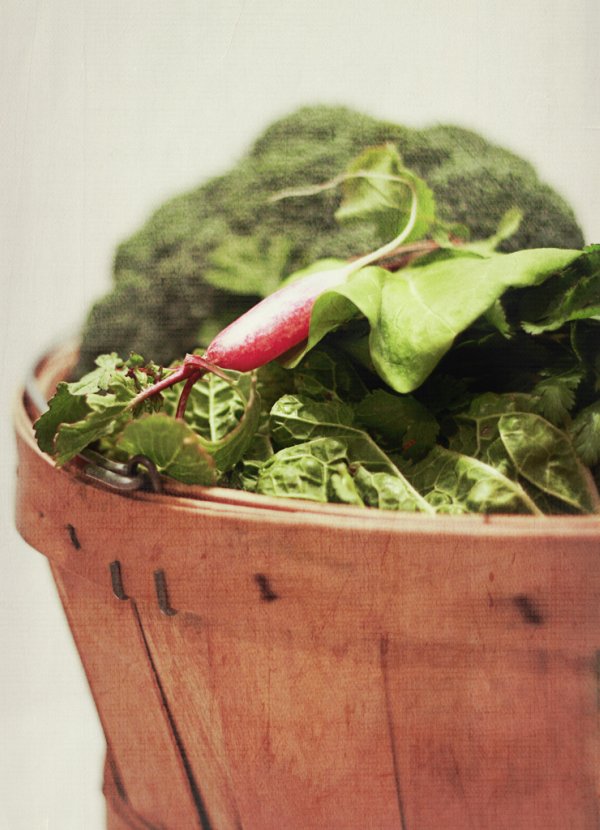
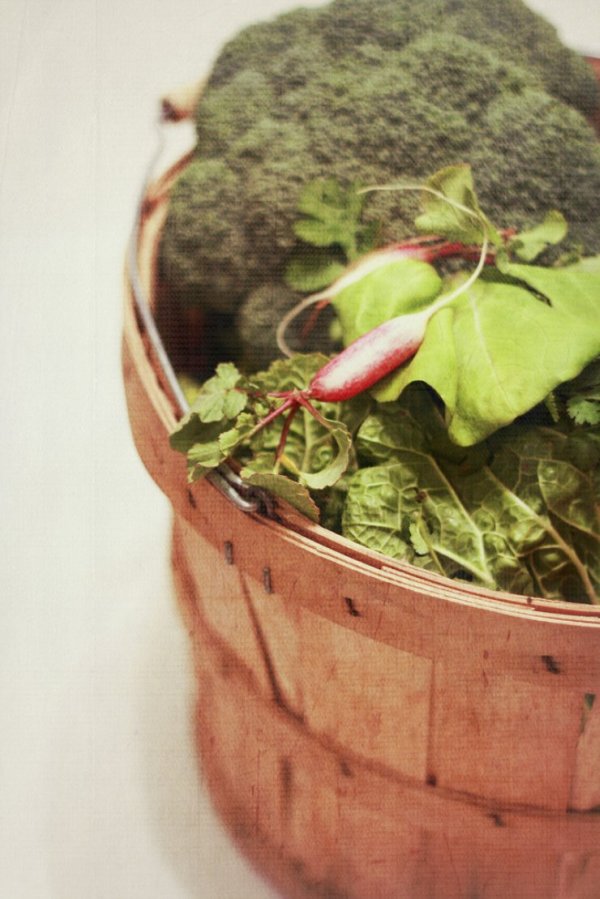
I joined a CSA (Community Shared Agriculture) this year! This is the first basket I received for the Winter Share. Isn't it beautiful? The basket was full of bright healthy greens such as arugula, napa cabbage, cilantro, mixed greens, and buttercrunch lettuce. I can't wait to see what I get in my basket next week!

1st Food Basket

Joining a CSA is a great to eat local food that is organic and you minimize the distance that food has to travel to get to your plate. It keeps your dollars in your community by helping support your local farmer.

1st Food Basket 3

If you are interested in learning more about CSAs, check out this link for the one nearest you.

1st Food Basket 2

Tuesday, December 29, 2009

Healthy Whole-Wheat Apple Pancakes

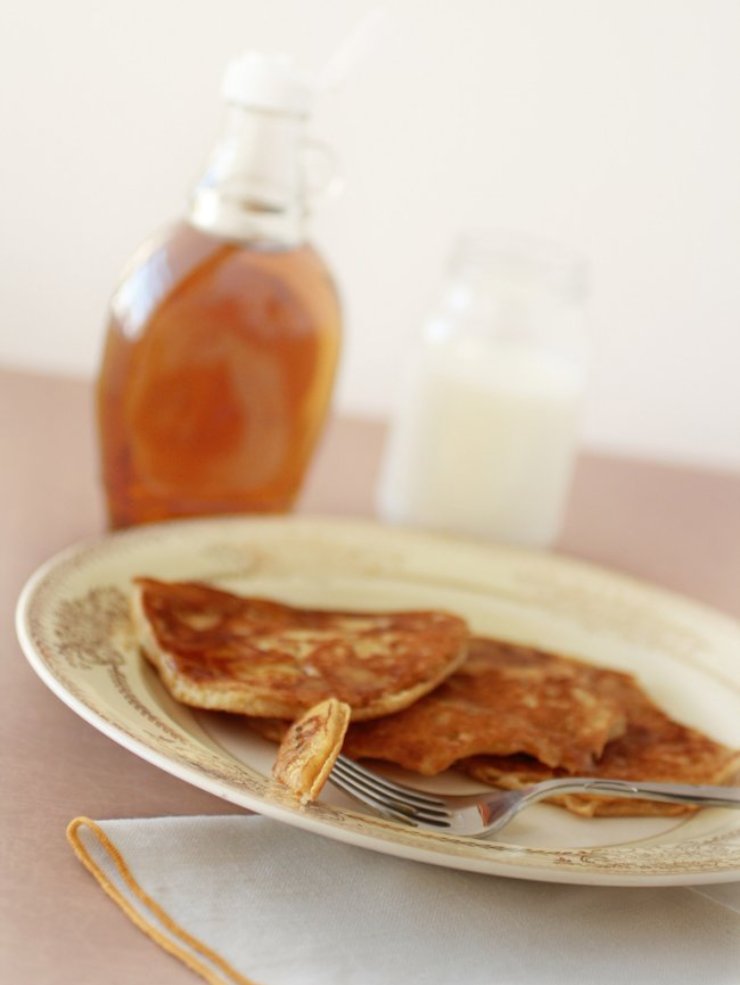
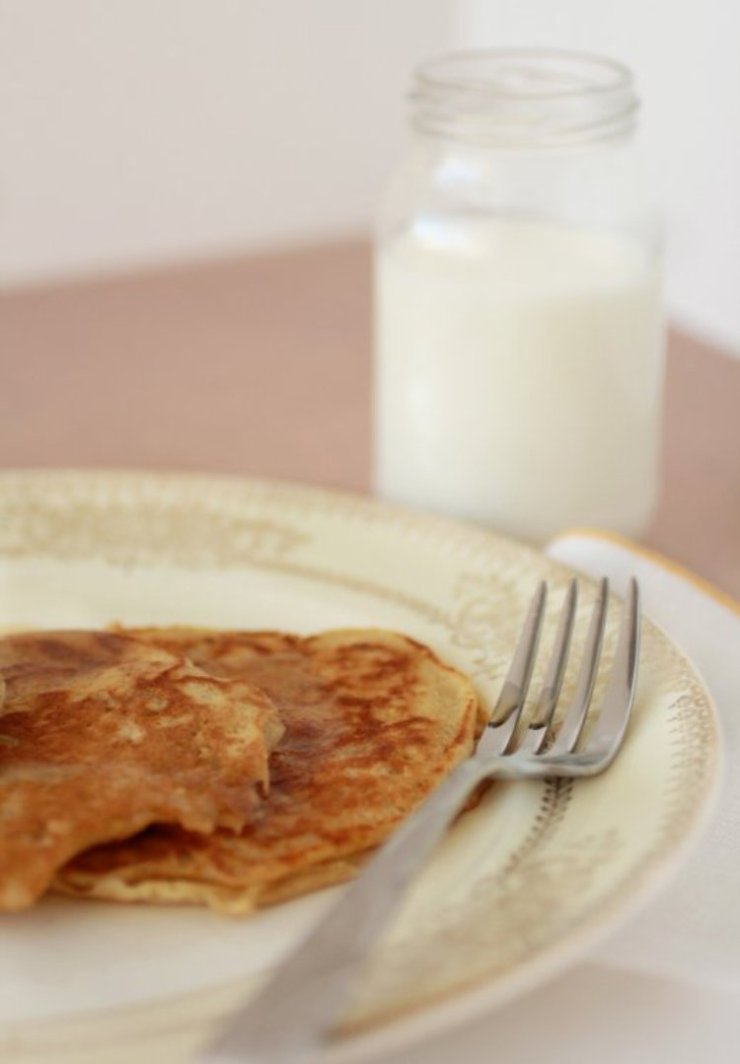
I would like to start the new year by posting this healthy and wholesome recipe for those out there that have made their New Year's resolution to eat healthier. These whole-wheat apple pancakes are DELICIOUS and you can eat them without feeling guilty! I too have made it my goal this year to eat healthier by incorporating more vegetables into my diet and by making more homemade foods that are free from articial flavors, high fructose corn syrup, and long named preservatives.

Apple Pancakes

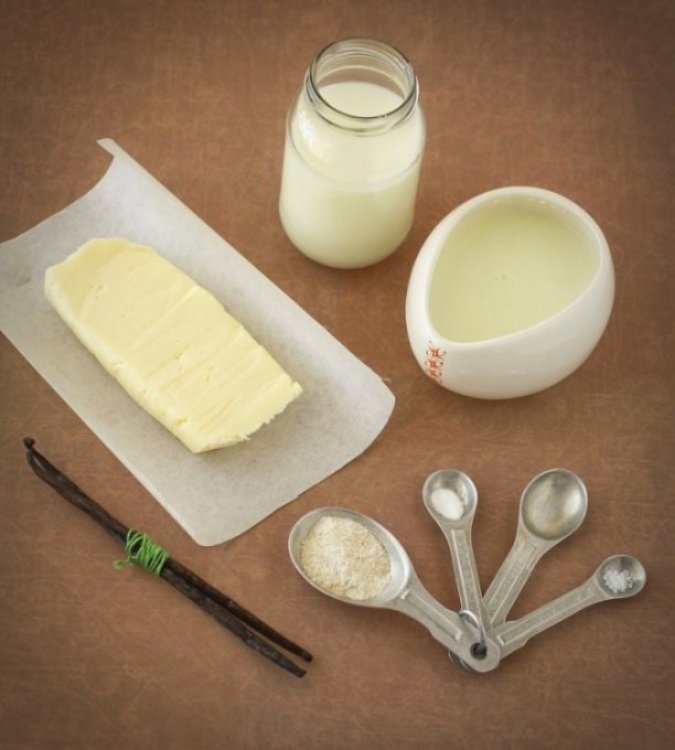
Reasons I consider this recipe healthy: I used homemade buttermilk of which I extracted from store bought cream. Ideally I would eventually like to make it from raw cream, however, I haven't quite yet figured out where to get my hands on some fresh cream. If you are interested making your own butter and buttermilk from store bought crem, you may want to check out this tutorial. Also, this recipe cuts down on the refined flour by using half whole-wheat flour and half all-purpose flour (using only whole-wheat flour would make a really heavy dense pancake). For the whole-wheat flour, I used freshly ground flour that I milled in my new L'Equip 760105 VitalMill Grain Mill
that Santa Claus brought me this year. Lastly, I used 100% pure maple syrup which is healthier than maple flavored syrup. Maple flavored syrup contains common sweeteners like corn syrup and sucrose which have had all their nutrition processed out of them, but maple syrup's health benefits are all there.

Fresh Butter & Buttermilk

This recipe is also a great way for using up your food storage such as powdered milk instead of fresh milk, dried apples instead of fresh apples, or powdered eggs instead of fresh eggs. For the measurements on using powdered milk, refer to this handy conversion chart from the All About Food Storage Blog.

Apple Pancakes

Whole-Wheat Apple Pancakes

1 medium apple, diced
3/4 cup all-purpose flour
3/4 cup freshly ground whole-wheat flour
2 teaspoons baking powder
1/2 teaspoon baking soda
1/4 teaspoon salt
1 cup freshly made buttermilk (or store bought low-fat buttermilk)
2 1/4 tablespoons dry non-instant powdered milk with 3/4 cup of water with liquid
ingredients (or 3/4 cup of milk)
2 tablespoons powdered egg with 1/3 cup water with liquid ingredients (or 2 eggs)
1 tablespoon honey
6 tablespoons pure maple syrup
1 tablespoon vanilla extract

1. In a large bowl, sift the dry ingredients. In a soft bowl, whisk the wet ingredients. Slowly add the wet to the dry ingredients and half of the apple. Stir until just combined.

2. Heat a large nonstick griddle or skillet over medium heat. Either spray griddle or skillet with PAM or grease with fresh unsalted butter. Spoon 1/4 cup batter onto the griddle for each pancake and sprinkle each with remaining apple. Cook until the tops are bubbly and edges are dry, about 2 minutes. Flip and cook until golden brown.

3. Place 2 pancakes on each plate and drizzle with syrup.

Source: Adapted from Food Network Magazine, November 2009.

Wednesday, December 16, 2009

Winter Squash Bread

I made this bread back in November and it turned out surprisingly good. I used homemade pureed banana squash and freshly ground whole wheat white flour. Since I don't have my own flour grinder at the moment, my mother-in-law was kind enough to left me use hers. It was quite the experience to grind my very own fresh flour! I can't wait until Santa Clause brings me my own flour grinder. Yippee!!

The only drawback to this bread was that the whole wheat flour made the bread very dense. Next time I make this I will probably adjust the flour and use either bread flour only or 1/2 whole wheat and half all-purpose flour.

Photobucket

Winter Squash Bread

1 ½ cups warm water (100°F)
1 package active dry yeast
¼ cup light-brown sugar
2 large eggs
1 cup winter squash or pumpkin puree, canned or homemade
1 tablespoon kosher or sea salt
½ cup yellow cornmeal, plus additional for sprinkling
5 ½ to 6 cups bread flour (optional: Instead of bread flour, combine 3 cups whole wheat and 3 cups all-purpose flour)
Olive oil for bowl and baking sheet

1. In a large bowl, add warm water and sprinkle the yeast and a pinch of brown sugar. Let stand until foamy, about 10 minutes.

2. With a whisk, beat eggs and squash puree into the yeast mixture. Mix in remaining brown sugar, salt, cornmeal, and 2 cups of the flour. Mix until smooth, about 3 minutes.

3. Turn the dough out onto a lightly floured work surface and knead until the dough is soft and tacky. Add more flour if necessary. Oil a bowl and add the dough, turning to coat. Cover with plastic wrap and allow the dough to rise at room temperature until doubled, 1 to 1 ½ hours. Gently deflate the dough. You can either bake the bread right away, or put it away in the fridge over night to allow the dough to ferment and develop flavor. If you refrigerate over night, be sure to let the dough sit at room temperature for 4 hours.

4. Preheat oven to 450°F. Lightly oil a bread pan. Turn dough out onto lightly floured surface. Form the dough into 2 round loaves and put into pan. Cover loaves loosely with plastic wrap and let them rise for 30 minutes, or until doubled. Dust tops of the loaves with flour.

5. Reduce the temperature to 375°F and bake for 45 to 50 minutes. Cool on a rack.


To Make Squash Puree

1. Preheat oven to 375°F. Use pumpkin or any kind of squash. Cut the squash in half and scoop out seeds. Save seeds for roasting. Put squash in a baking dish, cut-side up. Brush with butter, season with salt and pepper.

2. Bake in oven for 45 minutes or until tender.

3. Scoop out flesh and mash or puree until smooth in a food processor.

4. Press puree through a fine mesh.

Source: Unknown.

Monday, December 14, 2009

Happy Birthday Alexis!

This past weekend, my little cousin Alexis turned 9. I wanted to capture the moment on camera but had a little trouble with the low light. Nevertheless, she looked like a princess!